
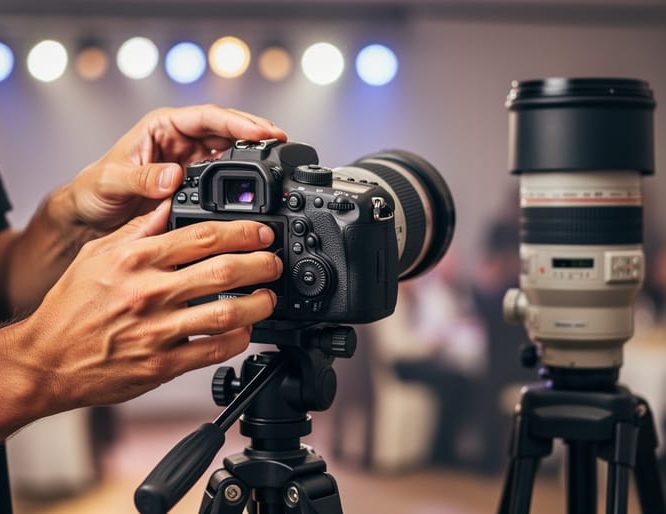
Great photos start with four settings: a fast shutter speed, a low enough ISO, a wide aperture, and the right white balance for your light. Get those four working together and you can go from blurry, dim snapshots to sharp, glowing memories in about ten minutes, no technical degree required. The basic rule of thumb is simple. Use a shutter speed of at least 1/125 of a second for people on the move, keep ISO as low as the room allows to avoid grainy images, open your aperture (a small f-number like f/2.8) to blur busy backgrounds, and match white balance to your lighting so skin tones look natural.
Here’s the good news: you don’t need to do it all alone. Whether you’re capturing a wedding toast, a milestone birthday, or a product launch for your business, the right settings change with the moment, and that’s where customization matters most. Our team tailors every setup to your venue, your guests, and your style, using cutting-edge technology like 4K video and 360 capture, with budget-friendly rentals that keep professional results within reach.
Below, you’ll find the tools you need, a few safety notes, step-by-step instructions, and event-specific settings you can use today.
What You’ll Need Before You Adjust a Single Setting: Tools and Materials
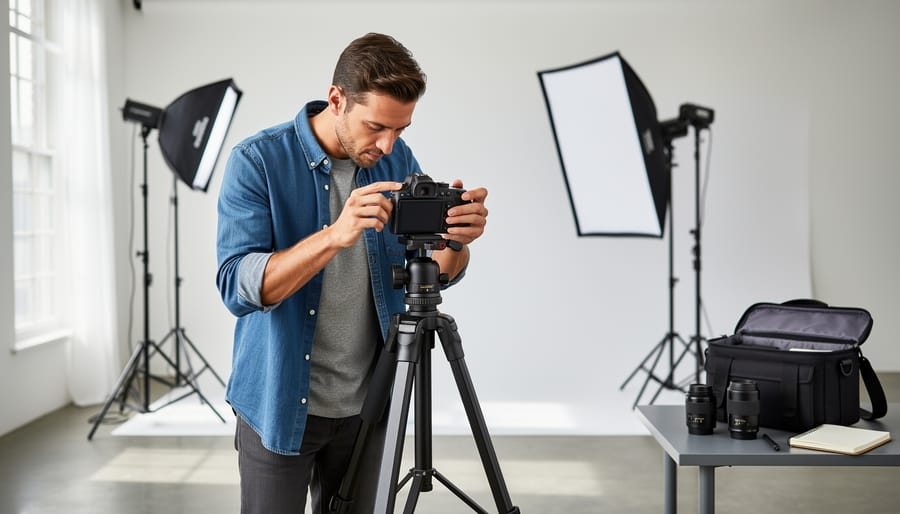
Great settings start with the right setup, and the good news is you don’t need a studio full of gear to get there. A few well-chosen basics give you room to adjust brightness, motion, and depth without fighting your equipment. Here’s what to gather before you touch a dial:
- A camera with manual or semi-manual modes: Aperture priority or full manual lets you actually customize your look instead of leaving it to auto.
- A lens suited to the occasion: A wide, bright lens handles dim reception halls, while a short telephoto keeps portraits flattering and sharp.
- A tripod: It steadies long exposures and video so your footage stays smooth.
- A memory card with plenty of room: 4K video eats storage fast, so choose a high-capacity, fast card.
- Spare batteries: Recording and screen previews drain power quickly, and a dead battery during the first dance is a sad moment.
- A reflector or light source: It fills shadows and softens faces when natural light isn’t cooperating.
- A notebook or phone for notes: Jot down what worked so you can repeat it later.
That list might look long if you’re new to this, but remember you don’t have to buy everything. Past & Present Studios offers rental options, so you can borrow pro-level cameras, lenses, and lighting for the day instead of investing in gear you’ll rarely use. It’s a smart route for birthdays, anniversaries, or a one-time brand shoot where the budget matters.
One more bit of prep that pays off: arrive early and test your gear in the actual space. Pop in the battery, format the card, take a few practice shots, and glance at your settings. Five minutes of checking now saves you from scrambling when the moment you care about is happening in front of you.
Safety Warnings and When to Stop and Rethink Your Setup
Before you tweak a single setting, give a minute to safety. A great photo isn’t worth a tipped tripod or a startled guest, and a few habits keep everyone (and your gear) in good shape.
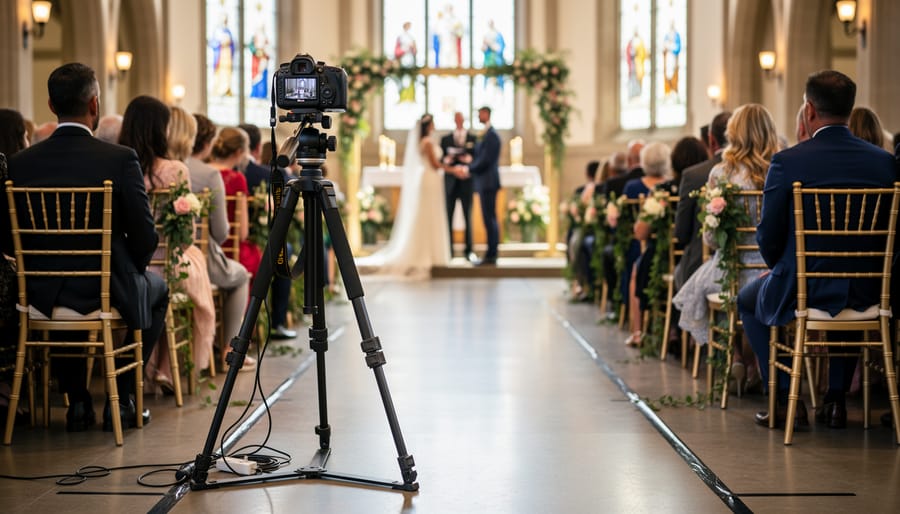
Start with stability. On uneven ground, spread the tripod legs fully, lock them, and hang your camera bag from the center hook for weight. In a crowded venue, set up along a wall or corner where guests won’t brush past it, and tuck cables flat with tape so nobody trips.
Handle batteries and memory cards with care too. Swap them with the camera powered off, keep spares in a dry pocket, and never pull a card while it’s saving. It’s also worth checking the venue’s rules ahead of time, since many places limit flash, tripods, or where you can stand.
Know when to stop and rethink your setup:
– The light is so low that you’d need a very high ISO and the photos turn muddy or grainy.
– Your spot is blocking an aisle or putting people at risk.
– The venue prohibits flash or tripods, and your plan depends on them.
Pausing isn’t failing; it’s smart. If any of this feels like too much to juggle while you’re also enjoying your own event, a professional team can step in. They scout the space, handle the tricky lighting, and keep everything unobtrusive so you can simply be present.
Step-by-Step: Dialing In Your Photography Settings
Aperture, Shutter Speed, and ISO in Plain English
Think of your camera as a tiny window letting light in. Three settings control how much light gets through and what your photos look like: aperture, shutter speed, and ISO. Once you understand how they work together, the guesswork melts away.
Aperture is the size of the opening inside your lens, a bit like the pupil of your eye. In bright light your pupil shrinks, and in a dim room it opens wide. Aperture is measured in f-stops, and here’s the part that trips everyone up: a smaller number, like f/1.8, means a bigger opening. A wide opening lets in lots of light and gives you that dreamy, blurry background that makes a bride or birthday child pop. A narrower opening, like f/8, keeps more of the scene sharp, which is perfect for group shots and product photos.
Shutter speed is how long the camera’s curtain stays open to let light hit the sensor. It’s measured in fractions of a second. A fast speed, such as 1/500, freezes motion, so a flower girl mid-twirl or the first dance stays crisp. A slow speed, such as 1/30, lets more light in but can turn movement into a smear, and even small hand shakes show up as blur. If your shots look soft and you’re holding the camera, a faster shutter speed is usually the fix.
ISO is your camera’s sensitivity to light. A low number, like 100, gives clean, smooth images in bright settings. A high number, like 3200, helps in dim rooms but adds grain, those speckles that make photos look rough. Think of it as turning up the volume: handy when you need it, but too much brings static.
The trick is balance. Open the aperture or slow the shutter to let in more light, and you change the blur and sharpness. Raise ISO only when the first two aren’t enough. Customizable settings let you tune this trio to each moment.
Resolution, Frame Rate, and Modern Options Like 4K and 360 Video
Resolution is simply how much detail your camera captures. For photos, shoot at your camera’s highest quality setting, since you can always shrink an image later but you can never add detail back. For video, 4K is a wonderful choice for most events. It records about four times the detail of standard HD, which means sharper faces, crisper décor, and the freedom to crop in on a moment, like a bride’s smile during the vows, without the footage turning soft.
Frame rate is how many pictures per second your video records, and it shapes the feel of your footage. At 24 frames per second, motion looks smooth and cinematic, the classic movie look that suits ceremonies and heartfelt toasts. At 30 frames per second, things feel a little more lifelike and natural, which works well for lively receptions. If you’d like the option of slow motion for a confetti toss or a first dance twirl, try 60 frames per second, then slow it down when editing. A handy rule: pick one frame rate per event and stick with it, so your finished video looks consistent.
Then there’s 360 video, which captures everything around the camera at once. Placed at the center of a dance floor or a birthday party, it lets viewers look in any direction and feel like they’re standing right there. The same technology powers 360-degree product photography where customers can spin a product around on screen. Just remember that higher resolution and 360 footage fill memory cards fast, so bring extra storage.
Customizing Your Settings for Weddings, Birthdays, and Product Shoots
The same camera can tell very different stories, and the settings are what steer it. Think of the basics as a starting recipe, then adjust the seasoning for the occasion.
Weddings call for two moods in one day. For vows and quiet moments, favor soft, flattering light: open the aperture wide (a low f-number like f/2 or f/2.8) to melt the background, and keep ISO low so skin tones stay smooth. Then the first dance arrives and everything changes. Bump your shutter speed up to around 1/250 of a second so twirls and happy tears stay crisp, and let ISO rise to keep the exposure bright. Switching between those two looks is exactly where customization pays off.
Birthdays and anniversaries are all about candid energy. Indoor lighting is often dim and warm, and kids rarely hold still. Try a faster shutter speed (1/200 or quicker), a slightly higher ISO, and continuous focus so you catch the blowing-out-the-candles grin instead of a blurry blob. If the room feels yellow, adjust white balance until faces look natural rather than orange.
Marketing photography rewards consistency. For small business owners, crisp detail matters most, so use a smaller aperture (around f/8) to keep the whole product sharp, and lock in one white balance setting so your catalog looks cohesive from shot to shot. Choose a clean, brand-friendly background, whether that’s a simple backdrop or your actual workspace.
At Past & Present Studios, none of this has to be a guessing game. Clients can request a customized look, such as warm and romantic, bright and playful, or clean and polished, and we tailor our settings and gear to match. If you’d rather shoot some of it yourself, our rental packages put professional equipment within reach at a price that fits your budget.
Check Your Results and Know Your Next Move: Verification and Next Steps
You’ve set your exposure, framed your shot, and pressed the shutter. Now comes the quick check that tells you whether it worked. Right after your first few frames, zoom in on the preview screen and look at a face or the sharpest detail. If the eyes look crisp, your focus is good. If they look soft, bump up your shutter speed or tighten your aperture and try again.
Next, glance at the histogram if your camera has one. Think of it as a little mountain range showing your brightness. A pile pushed hard against the left edge means too dark, and a pile jammed against the right means too bright. A nice spread through the middle usually means you’re in good shape. Then compare skin tones and whites. Skin should look natural and warm, and a white dress or cake should look white, not blue or yellow.
For video, play back a short clip with headphones on. You want steady audio without wind noise or crackle, and motion that feels smooth rather than jittery. Once you’re happy, back up your files right away, ideally to two places.
From here, save your favorite settings as presets so you can recall them in seconds. Practice in the venue ahead of time, at the same hour as your event, and note what works. If you’re curious about handing off the heavy lifting, our drop-off & pick-up options and this drop photography guide explain how that works. And if a precious image ever gets damaged, R-Photo Recovery can help restore it. Past & Present Studios is always happy to plan a customized session or equipment rental with you.
Common Questions About Photography Settings
Do I need to shoot in manual mode?
Not at all. Semi-automatic modes like aperture priority or shutter priority let you control the one setting that matters most while the camera handles the rest. Many people shoot happily in these modes for years.
What’s the best setting for indoor events?
Indoor light is usually dim, so open your aperture wide and raise your ISO a bit until the picture looks bright and sharp. A steady hand or a tripod helps keep things from blurring.
Is 4K worth it for a wedding?
In most cases, yes. 4K captures extra detail and gives you room to crop in on a moment, like a tearful glance, without losing clarity. Just make sure your memory card has plenty of space.
Can I rent equipment instead of buying?
Absolutely, and it’s a smart way to use pro-level gear on a budget. Past & Present Studios offers rental options so you can match your equipment to the event.
Keeping photos sharp when people are moving comes down to a faster shutter speed. If you’re shooting a first dance or kids racing around a birthday party, aim higher than feels necessary and check a few test shots as you go. A little practice before the big day makes all the difference.
Great photos rarely come from a single perfect formula. They come from settings shaped around your story: the soft glow of a first dance, the chaos of a birthday cake moment, the crisp details of a product you’re proud of. Once you understand brightness, motion, and depth, you can adjust them with confidence and make each shoot feel like yours.
If you’d rather have a team handle the tricky parts, Past & Present Studios offers customizable photography and videography, including 4K and 360 options, with rentals that fit your budget. Reach out and let’s plan your event or brand shoot together.